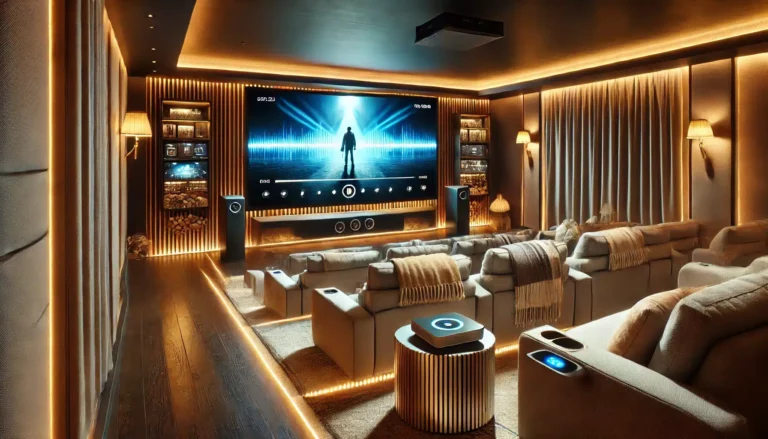
If you — ve already got a smart home system ticking over — lights, heating, maybe some voice control — adding a projector screen is a logical next step. Pulling down a screen and dimming the lights with a single voice command or tap on your phone transforms a living room into a proper home cinema without the faff of separate remotes. This guide walks you through the practical side of integrating an ABIS electric projector screen into popular smart home ecosystems, covering the hardware you need, the setup steps, and the gotchas to watch for.
Key Takeaways
- Smart integration works best with electric projector screens that have a remote control — manual or tripod screens lack the motor needed for automation.
- You — ll typically need a smart IR/RF bridge (like Broadlink or Bond) or a smart plug with IR to connect the screen — s remote to your smart home hub.
- Voice control (Alexa, Google Home, Apple HomeKit) is achievable by pairing the bridge with your preferred assistant.
- Routines and scenes let you combine screen drop, lighting dimming, and projector power into one command.
- Safety first: always set limits on the screen — s travel and avoid blocking the IR sensor.
Why Integrate a Projector Screen into Your Smart Home?
A projector screen on its own is already a big step up from a telly. Add smart control and you remove the friction of hunting for the remote or getting up to pull the screen down. For a home cinema setup, integration means you can say — Alexa, movie time — and the screen descends, the lights dim to your preferred level, and the projector fires up — all without moving from the sofa. In a meeting room, a single button press can close the blinds, lower the screen, and switch the projector on. It — s about convenience, but also about creating an immersive experience that feels polished.
What You Need: Hardware and Compatibility
The Screen
For smart integration, you need an electric (motorised) projector screen. ABIS — s electric screens come with a remote control (usually IR, sometimes RF) that operates the up/down/stop functions. The motor is built into the screen casing, so you just need to tap into that control signal. Our manual and tripod screens are great for other uses, but they don — t have motors — so they can — t be automated.
The Bridge
To make the screen — s remote talk to your smart home, you need a universal IR/RF bridge. These devices learn the signals from your screen — s remote and let you trigger them via Wi-Fi. Popular options include:
- Broadlink RM4 Pro (IR + RF, works with Alexa/Google)
- Bond Bridge (RF-focused, good for ceiling-mounted screens)
- SwitchBot Hub 2 (IR + Bluetooth, also works with Matter)
The Smart Home Platform
You — ll also need a hub or app that ties everything together:
- Amazon Alexa (Echo devices)
- Google Home (Nest speakers/hubs)
- Apple HomeKit (via Homebridge or a compatible bridge)
- Samsung SmartThings
- Home Assistant (DIY, very flexible)
Optional: Smart Plug
If your screen — s remote uses IR but you want to power-cycle the screen as part of a routine, a smart plug can help — but most electric screens are always on standby, so this isn — t essential.
Step-by-Step Integration Guide
Step 1: Choose Your Electric Screen
Start with an ABIS electric projector screen in the size that fits your room. For a typical home cinema, the 100" Electric Projector Screen is a solid all-rounder. If you have more space and want a true cinematic experience, the 120" Electric Projector Screen is excellent. Both come with an IR remote that we — ll integrate.
Step 2: Set Up the IR/RF Bridge
Plug in your bridge (e.g. Broadlink RM4 Pro) and connect it to your Wi-Fi using its companion app. Place it so it has a clear line of sight to the screen — s IR receiver (usually a small dark window on the screen casing). If the screen is ceiling-mounted and the receiver is on the bottom, you might need to angle the bridge or use an IR extender.
Step 3: Learn the Remote Signals
In the bridge — s app, use the — learn — or — add remote — function. Point your screen — s remote at the bridge and press the DOWN button. The bridge should confirm it — s learned the signal. Repeat for UP and STOP. Name them something clear like — Projector Screen Down — .
Step 4: Link the Bridge to Your Smart Home Platform
Open Alexa (or Google Home) and add the bridge as a skill/device. The learned IR commands should appear as scenes or routines. For example, in Alexa, you might see — Projector Screen Down — as a scene that you can trigger by voice or include in a routine.
Step 5: Create Routines
Now the fun part. In your smart home app, create a routine like — Movie Night — that:
- Sends the — Projector Screen Down — command
- Dims the lights to 20%
- Turns on the projector (via a smart plug or IR)
- Closes the blinds (if you have smart blinds)
You can trigger this routine by voice ( — Alexa, movie night — ), a button on your phone, or even a motion sensor when you sit down.
Step 6: Test and Adjust
Run the routine and watch for timing issues. The screen takes a few seconds to descend fully — make sure the lights don — t dim too early or the projector doesn — t turn on before the screen is down (you might see a bright lamp on the wall). Adjust delays in the routine if your platform supports it.
Practical Tips for a Smooth Setup
Line of Sight is Critical
IR signals need a direct path. If your screen is in a recessed ceiling pocket, the receiver might be hidden. Consider an IR blaster (a small wired emitter) that you can stick near the receiver.
RF vs IR
Some ABIS electric screens use RF remotes, which work through walls and don — t need line of sight. If you have an RF remote, you — ll need an RF-compatible bridge like Bond or Broadlink RM4 Pro (which supports both). Check your screen — s remote — if it has a visible LED at the front, it — s IR.
Safety Limits
Electric screens have adjustable limits for how far they travel up and down. Set these correctly during installation to prevent the screen from over-travelling and damaging the fabric or motor. If you — re integrating with a routine, make sure the — stop — command isn — t sent too early.
Power Supply
Electric screens need a mains socket nearby. If you — re building a new room, plan for a power point near the screen position. For retrofits, you might need an extension lead or a sparky to add a socket.